Building the Eun Mara "Skerry"
Outer keel, stem and stern
I'm making the keel, stem and stern by sandwiching three 19mm (3/4") jarrah planks.
Progress shots - 13 Nov 2005
Completed - 24 March 2006
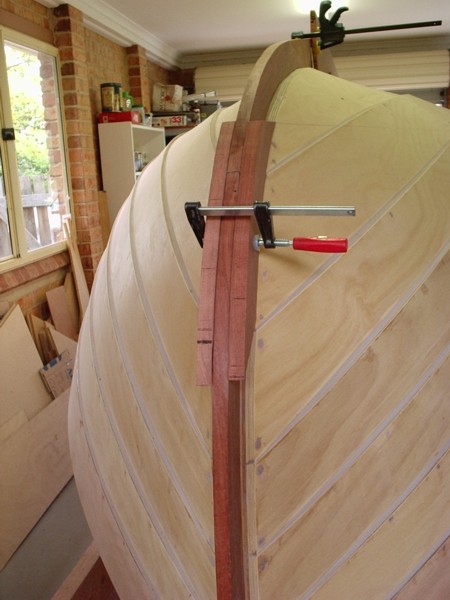
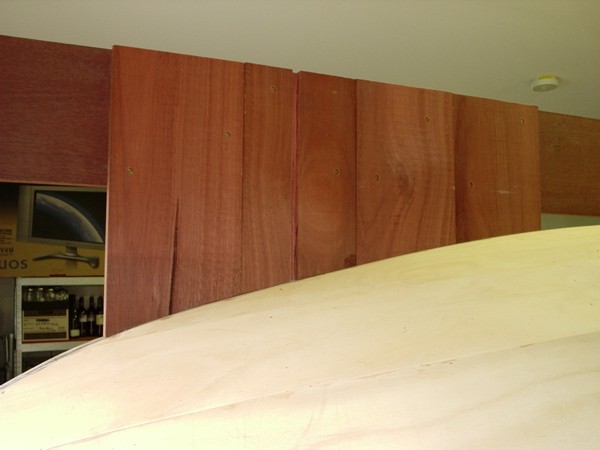
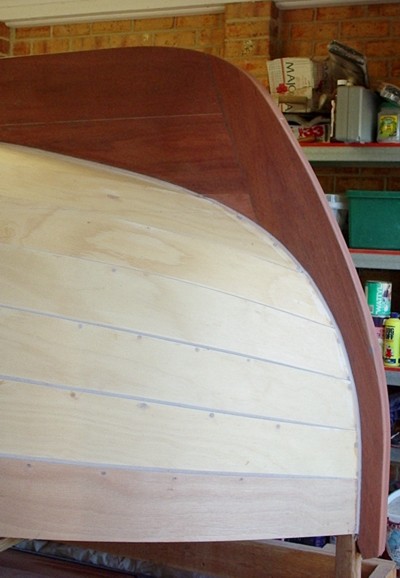
The middle part of the stem is completed and temp-screwed in place from inside the hull. This picture shows how the outer planks will be positioned. It looks a bit chunky at present as the bevel will not be applied until the entire stem is completed. I intend making the stem a single unit that extends up to the notch where the ballast will fit (where the quick-grip clamp is at the top of the picture).
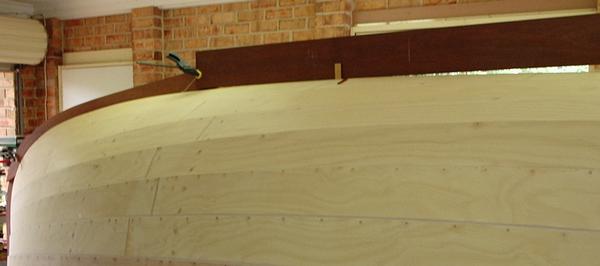
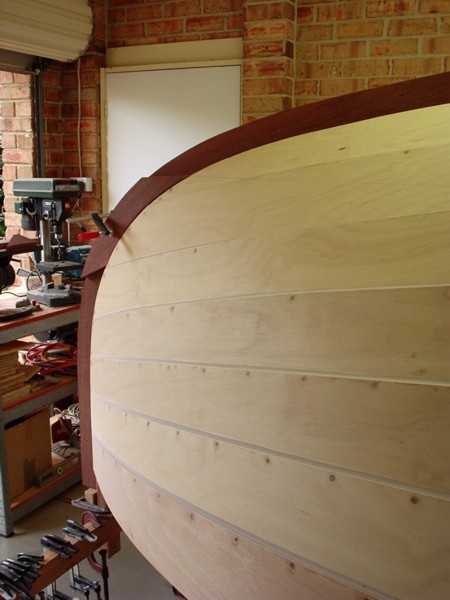
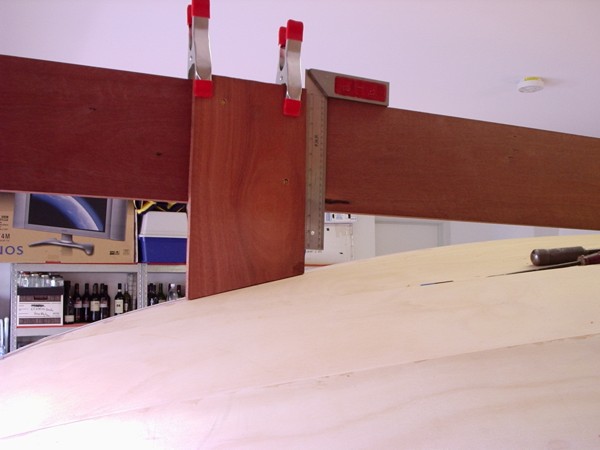
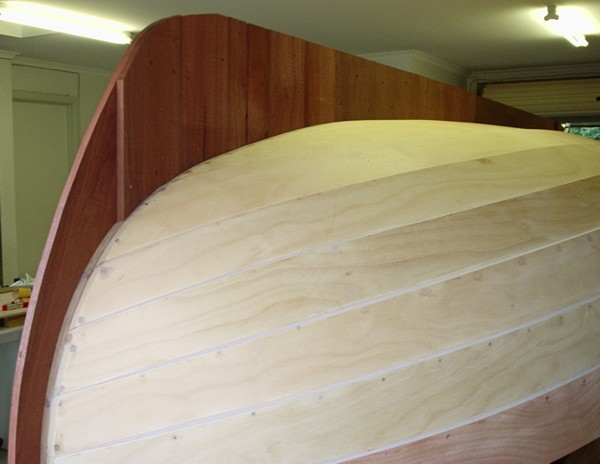
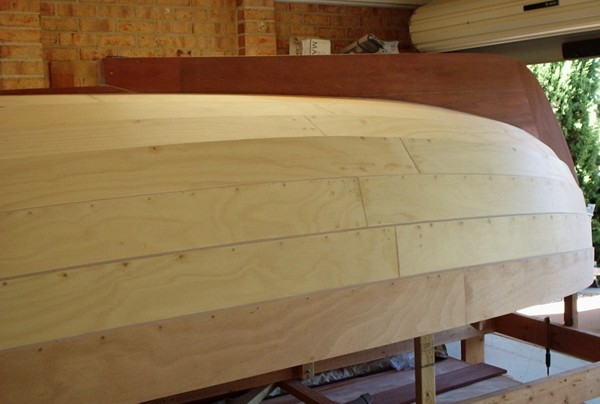
These two pictures show the stock for an outer plank of the keel balanced on the hull. It's clamped to the side of the (firmly secured!) outer stem. The top of the plank is aligned parallel to the string that is secured to the vertical post clamped to the sternpost and to a small nail in the top of the aft end of the stem assembly. The plans indicate that the bottom of the keel is straight between these points. (The anchor-point on the vertical plank is 1.2m above the sheer.)
The top of the (19cm) plank turned out to be a little over 7cm above the string. The small light coloured block in the top picture is 7cm high and was used to spile the curve of the hull onto the side of the plank.
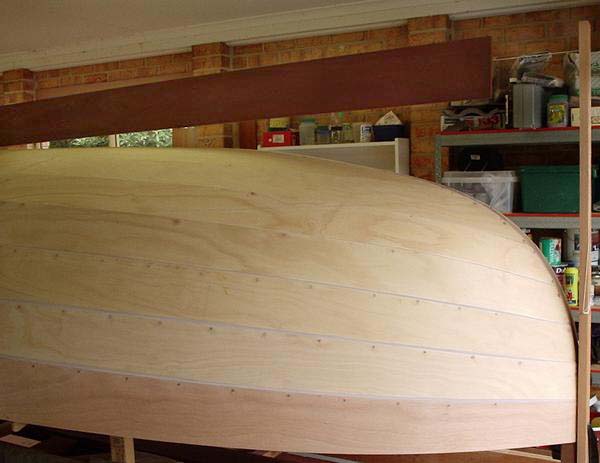
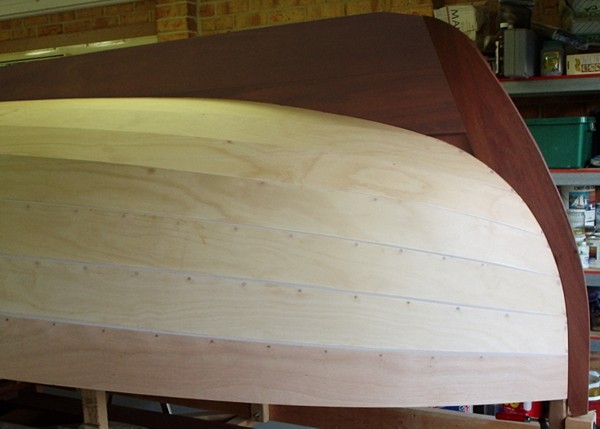
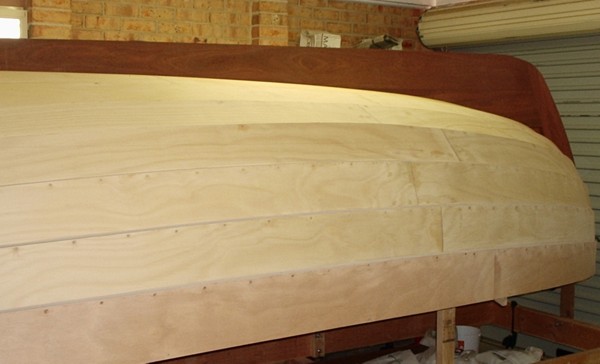
After the shape was cut out the plank fitted the hull like this.
My intention is to make the two outer planks of the sandwich run longitudinally (like the one shown). The meat in the sandwich will be a series of short vertical planks. This has two advantages:
1. It should make the keel stronger, as the grains are running across each other.
2. It makes shaping the inner section REALLY easy, as I have to worry about only 19cm at a time (as described in the next paragraphs).
Here is the first of the inner vertical planks being put into place. (The screws are mainly for convenience in positioning and will be covered by the plank that will form the third layer.) I just used a lightweight sheet of cardboard as a template for shaping each piece.
And here are a few more. The 1cm vertical channel in the second piece from the left will eventually take the aft-most keel bolt. It is slightly off-centre, of course, relative to the axis of the keel. I'll put the next channel on the opposite side, and so on, thereby having the bolt holes through the keelson form a slightly zig-zag pattern (which is probably better than having them in-line).
When all the vertical sections are in place the assembly will be able to be used as a template for cutting out the remaining longitudinal pieces. The only remaining "tricky" shaping will be the stern.
13 November 2005 - More progress shots of the keel
I cut as long a stern section as I could from the 19cm plank and am pleased with the way it ended up meeting the deadwood. The curve is very rough as I'll leave the final shaping until after the whole assembly is epoxied together.
This shot shows all the vertical plank sections (though I have not yet cut the remaining keel bolt channels).
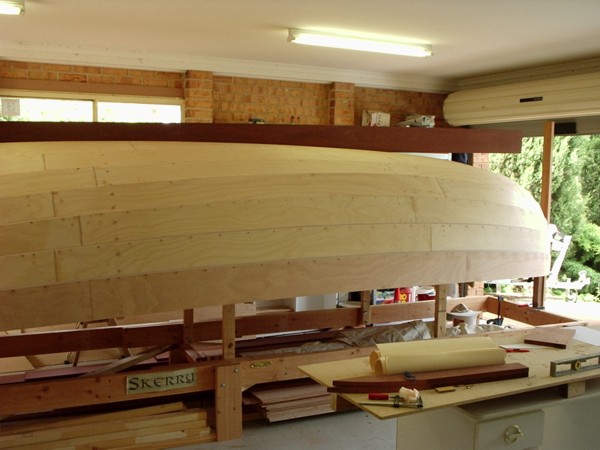
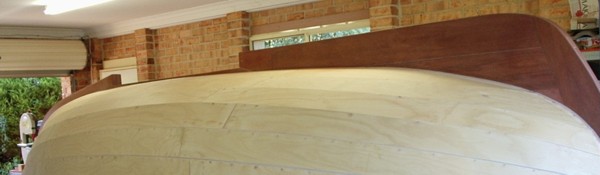
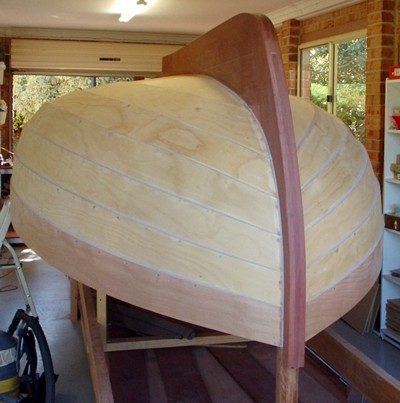
Here's the overall effect - looks very like an upturned boat!
It took a while, as I was not able to devote the time to it as I would have liked. However, it's now epoxied on, five 1/2" stainless steel bolts through the skeg section, and also some 4" bronze screws secured from the inside to the stem and stern sections. All that's left between now and the great turning-over is a final sand, sealing, and painting.
This shows the cutout left for the lead ballast.
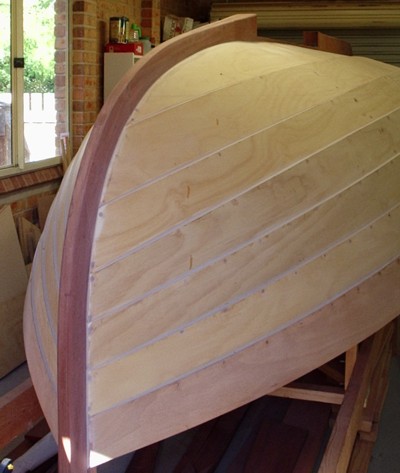
The stem has been bevelled as per the plans.
The skeg (deadwood) section is a massive assembly of Jarrah.
This view of the sternpost shows the sandwiched construction. I didn't do any bevelling here; just rounded off the edges.
Side view of the stern post.