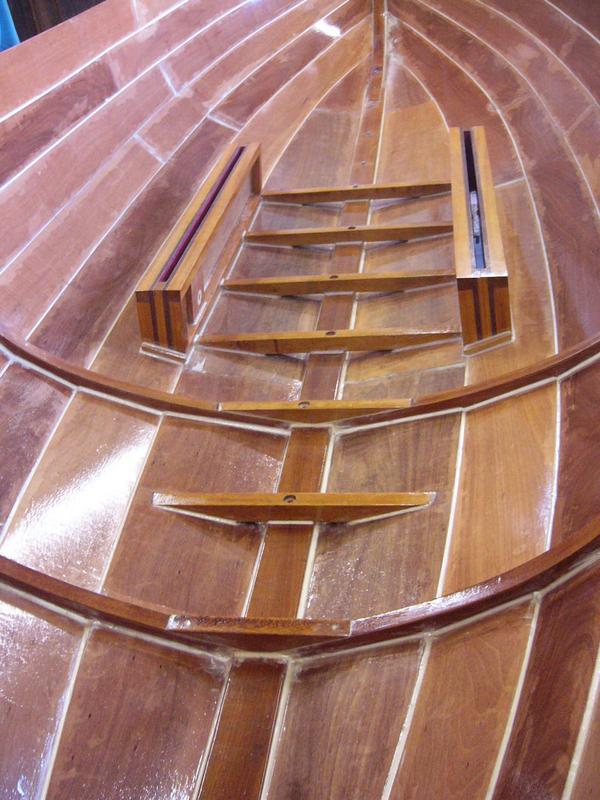
Here are some photos of my bilge cases. It might be hard to see the sequence, so here are the details.
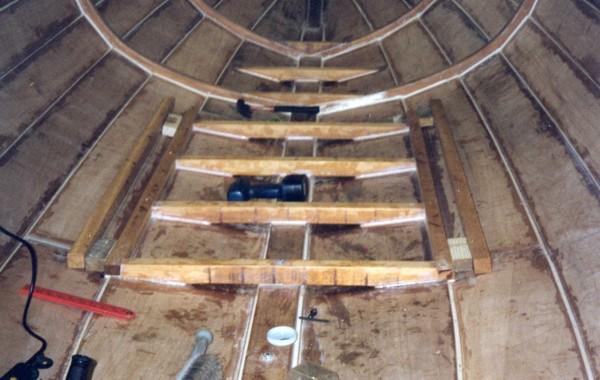
After we turned the hull on 18th March, cleaned it up and filletted all the laps, I made the floors first and glued them in, then shaped the lower logs of the bilge cases, using the ends of the floors to determine the angle, with blocks representing the thickness between them. They are hardwood, so I didn't try to bend them. Because of the lap in the planking, after I had shaped the length of the inner logs, I covered them with parcel tape, built up thick beds of glue along their positions in the hull, pressed the logs into the glue at their correct angles against the ends of the floors, screwed them down, scraped off the excess glue, let it set, then knocked the logs out again and took the tape off.
To make the cases, I drew the end-shapes on mould 6 and screwed battens on to define them, put parcel tape around the lower parts of mould 6, and set up moulds 4, 5 & 6 in the hull. Then I screwed the lower logs into place (from above), ran string lines from the top outside corners of the shapes on mould 6 through to mould 4, levelled and squared them up and marked the positions on moulds 5 & 4. (My moulds 5 & 6 have gaps where I made a couple of the smaller moulds out of them.) Then I removed mould 5, clamped scrap plywood to the lower logs, clamped the upper rails to the plywood and levelled them up, then measured the heights of the vertical framing members at the ends and pivot positions. (I will put some more in at station 5 later.) Then I cut out all the parts.
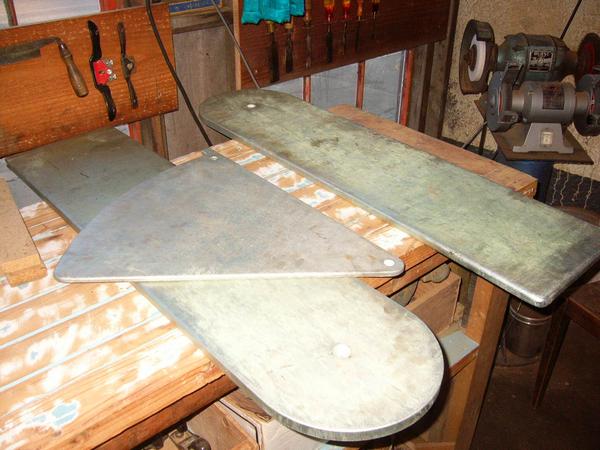
Next I cut the slots, screwed the lower logs into place from underneath, clamped the bilge keels in place through the slots, and drilled holes down through the lower logs, planking and keels, for 1/4" bolts (actually threaded rod with nylock nuts on the bottom ends), 4 on each side. After the usual session of dry assembly and fitting, I glued up the side assemblies (lower logs and all), cut the holes for the epoxy pivot bushes, then filled the holes with glue in 2 stages to avoid overheating, but didn't drill the piovot holes at this stage. I also modified mould 5 to fit over the cases, to use as a pattern later. Then I laid one layer of glass cloth on the inner faces.
Then I positioned the bilgeboard pattern on one side of each case and marked the pivot positions and drilled the holes through those sides. Then I glued up the whole cases and drilled the holes through the other sides on my vertical drill press, with the drill passing through the first hole to keep it in line.
Then I made life more complicated by deciding to put a second layer of cloth and antifouling paint in them, so I cut them apart, did all that, then glued them up again with thin spacers to maintain the clearance for the bilge boards. I had to glue them with the pivot pins in place to hold the sides in their correct relationships. There was a lot of trial fitting in the boat, trimming the slots, clamping and drilling screw holes with the cases in place, before I glued them.
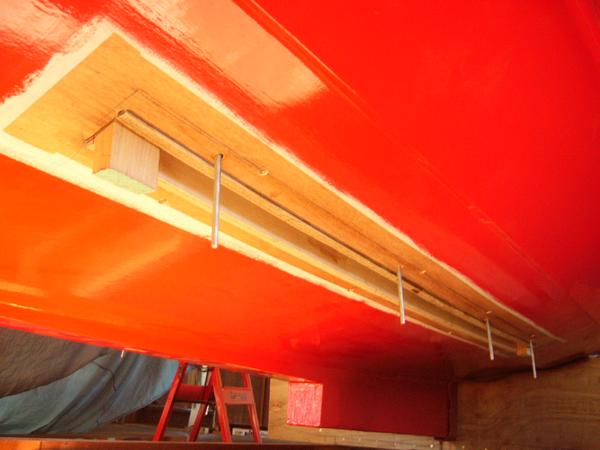
When they fitted properly, I cleaned them up and glued them in with just mould 6 in place, screwed from underneath, and the cases clamped to the battens on mould 6 to make sure they stayed at the correct angles. When set, I trimmed the sides flush with the underside of the hull with a light power planer, cleaned out the holes for the bilge-keel bolts, drilled the recesses for the heads, filled the holes with glue, glued and bolted the bilge keels on, and filled in the keels where the bolt-heads were.
The next job was to trim and tape the slots, which involved some more filing afterwards to get the clearance for my dummy wooden bilge-board. It may be a good idea to taper the lower edge of the inside faces a little to allow for the thickness of the tape.
Then I completed the antifouling inside the cases and down the inner faces of the bilge-keels, and painted the bilge-keels and surrounding areas to match the hull. Sorry if this seems long-winded but I hope it's clear enough. You may well think of a better way of doing it. The antifouling probably isn't necessary, in terms of the way the boat is likely to be used. Since then I have put two coats of epoxy over the entire interior, using a short-nap roller and an old paintbrush for each coat. I am now part way through sanding the interior, by hand with wet (black) sandpaper, and again with dry steel wool to get the rest of the shine off.
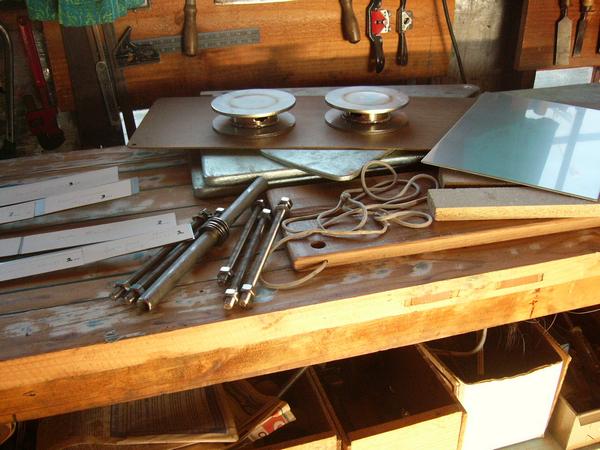
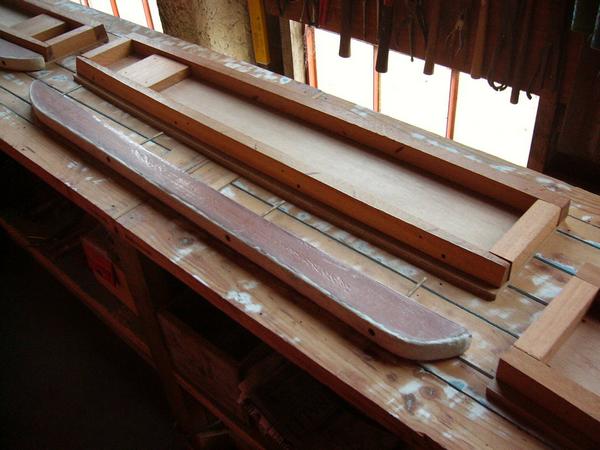
I have also made a wooden mock-up of the ballast for the local foundry to make the sand mould for the lead ballast, and rehearsed the fitting process with a couple of trolley jacks. At one stage the dummy rolled off the jacks onto my legs, so I have arranged a couple of stacks of old timber to place under it when I am doing that. Then if it rolls off I can get the jacks back under it. Keep legs out from under! The keel-bolt holes are off-set 1/2 inch each side of centre, except the forward one. I am also making some of the hardware at a local high-school evening metalwork class.
The next jobs will be the bulkheads, then the beam-shelves (inwales).
I will assemble, coat and sand all the interior parts as far as possible
before I install them. I hope to make as much of the ends of the boat
as possible into buoyancy chambers, as well as being storage lockers.
.jpg)
.jpg)
.jpg)
.jpg)
.JPG)
.JPG)
.JPG)